We speak about “Canvas Printing” in quite a few of our articles, but a lot of the application areas that we discuss can be used with other printing types too. If we talk about different ways that you can use canvas prints, then just remember that you are not limited to only stretched canvas – we have a range of beautiful print products that you could choose from:
- Mounted Gallery Prints
- Acrylic Prints (also known as Perspex Prints)
- Aluminium Prints
- Contemporary Framed Prints
- Box Framed Prints
- Social Blocks
- Wood Prints
Following on from last week’s article – where we discussed a few of the different ways that you can use Canvas Wall Art Prints – we would like to take this opportunity to remind you about split canvas photo printing.
What is a Split Canvas
Instead of printing one large print, a single image is divided over multiple panels and then those panels are hung next to each other on the wall. Creatively splitting your photos across multiple canvas panels creates a unique piece of wall art that adds pop to any room in your home. It is perfect for panoramic photos, scenic landscapes, seascapes, wildlife, nature and abstract imagery.
If you Google ‘split canvas design ideas’ then you will find lots of ideas. There are many split layout options to choose from, but here are a few favourites that we found online to share with you:
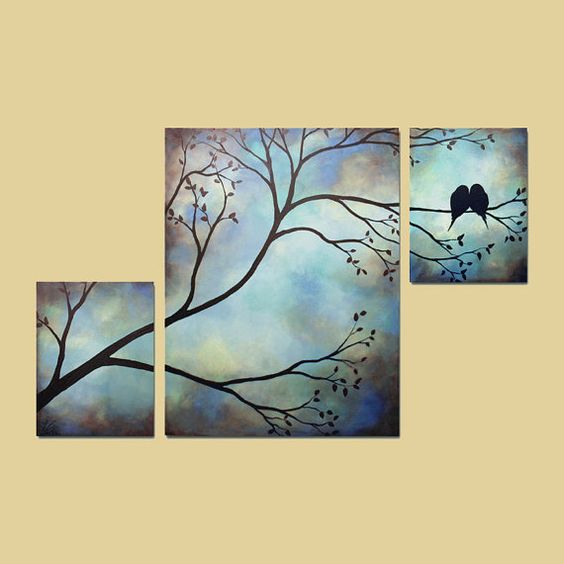
3-Panel Split – Horizontal
This is the most popular split design and is also known as a Triptych canvas, a term that is mostly used overseas. It is exactly as it sounds – your single image is divided into 3 sections, with each section being printed on a separate panel. They can be all the same size, or varying heights and widths, depending on your preference and what wall space you are working with. They hang to the left and right of each other.

Multi-Panel Split – Varying Heights and Widths
These split-panel sets can have from as little as 2 panels, up to … well, as many as you want. The panels do not have to be the same size and you can be creative with the widths and heights of each individual panel. We suggest that you use your image as a guide when deciding on the panel sizes, so that you do not end up cropping off an important part at the top or bottom of the image. If there are focal points on the image, then try and keep these centred on the panels, and avoid having a split right down the middle of a person for example.
Multi-panel Split – Vertical
This is not seen as often as the horizontal split, but it is just as effective and works well with images that are vertically extended. This type of split printing would work extremely well with photographs of tall trees or buildings, a giraffe, or a fun drawing for the baby room.

4-Panel Split – Square
This is when your single image is divided into 4 squares and then printed onto separate panels. They hang together on the wall to form a larger square. This option works quite well with macro photography and close up shots.
![]()
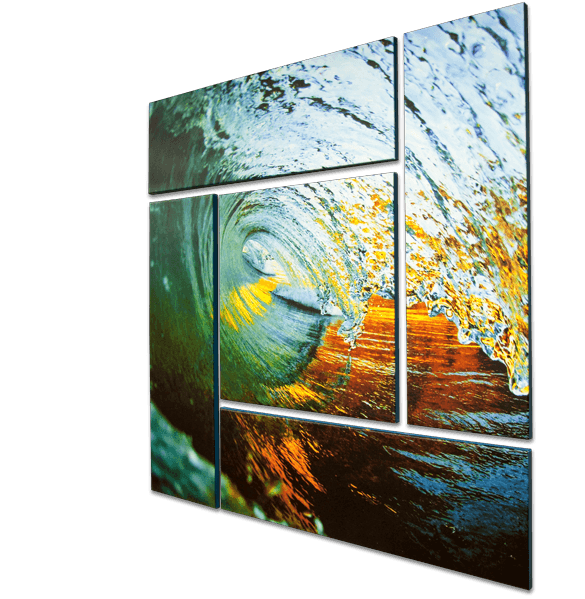
5-Panel Split – Circular
This is also less common, and works best with images that have a circular motion to them. Even though the panels are square or rectangular, the way that they are hung together will draw your eyes around the image, with the centre being the final focus.
If you need some guidance then please get in touch with our amazing sales and design team, or if you are just after some inspiration then pop over to our Pinterest boards.
We offer FREE DELIVERY to central areas across South Africa on orders over R400.
PLUS, you could get 10% OFF when your order totals R500 or more.
We can’t wait to work with you on your next split canvas project.
All our love
xx